Oh man, am I slow at this or what? (blog writing that is, I think I am doing okay at the actual assignments)
Anyway, more crates now and tomorrow I am going to the museum again to get more reference pictures since the ones I had were a bit inadequate.
Starting with the cartoony one.
I tried to keep it quite low poly as I worked on it mostly out of habit since my early blender days when I didn’t have any idea or even know there was such a thing as
I also ruined most of the nice loops that this thing was made of though it won’t have any real animations and the texturing can probably be done quite painlessly I am a bit worried about th more elongated triangles towards the lower edges, as I have had some shading problems with similar topology in earlier versions of Blender, though I honestly do not know if it was the software acting up or if it was a genuinely bad idea to make topology like that.
As to what I did, I made triangles not that complicated really, as stated above I just hope I didn’t ruin anything. I don’t really know for instance if I messed up the edge flow too much.


From above you can see that It was also pretty simple. I made the choice to keep the front and back protrusions, they make a few polygons but I really liked the shape it got so I decided to keep it and to accentuate it a bit further even.
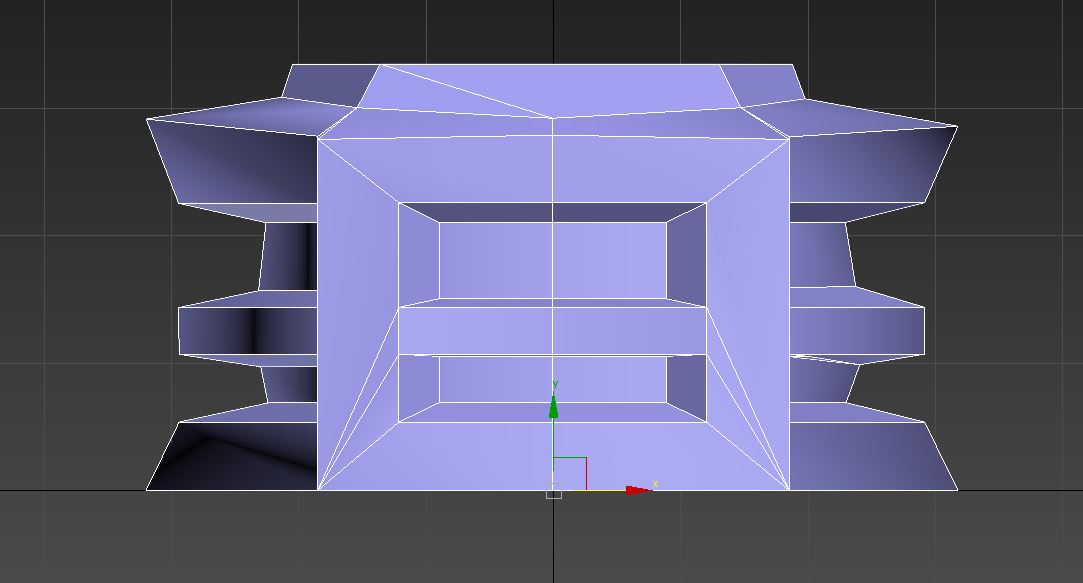
Medieval crate


So this one was a bit more work but I managed to more than halve the tri count.
This was done by simply removing all the vertices that were not needed with the help of the target weld tool. I don’t really know what more to say about this one, just make sure all the corners are connected and try to think in triangles. I was a little worried about the UV mapping process but since I am so friggin’ slow at writing this I can add that that went well as well, with some help (ok quite a bit of help). Maybe of note, I decided to keep the bottom on this one since I thought you might want to flip it on its side just for the heck of it.
Lastly the post-apocalyptic crate.

This one was really hard to do, I wanted it to look like it was clearly made out of different parts and not very well made at that, everything is at least a little bit crooked and that makes for a lot of cracks where faces show though that feel a bit wasted.
Case in point this intersection here.

I really wanted it to look like this, that thing is falling apart. But it cost me 10 tris to leave it like this so that also makes me kind of sad, but I kept the build from the old model almost completely except for tightening some verts on the topmost of the free (blue) planks in order to hide the faceless edges.
Ok first thing first.

I fixed all the corners on the extruded items, this felt like a good first step and Ifing it quite satisfying to see the progress one makes when doing this kind of work.
Then I took out the hidden ploys on the badly repaired planks.

And then I knocked out the bottom of everything that faced directly downwards.

That is all from me so have a nice weekend!
//Max Nordlund
